Get the Look | Mid-Century Pantry

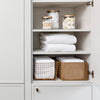
Ready to embrace the drama? This mid-century style pantry is simple to replicate in any kitchen. Start with one or two cupboards, large enough to fit all your dry goods. Eye-level is ideal but you mainly want to focus on making sure the shelves aren't too far out of reach. The products used here come in multiple sizes to fit the dimensions of almost any shelf, just make sure you have enough height for tall bottles and those family size bags of chips.
Start Heavy
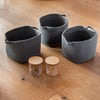
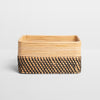
Anchor your space plan with a row of moody Perforated Baskets on the lowest shelf. Here we used Navy but our Spruce or Black would be a great choice too. Their included removable dividers make it easy to subcategorize and because they're opaque, they hide visual clutter.
Lighten Up
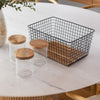
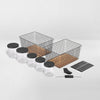
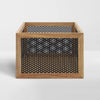
If you're working with three or four shelves, add in a row of Grid Baskets next using the same color as your Perforated Baskets. Place categories in these baskets that you want to be able to easily visualize. If your cabinet only includes two shelves, like the space above, you can skip this step.
Add in Acacia
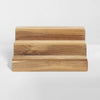
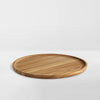
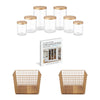
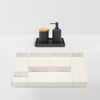
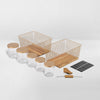
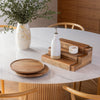
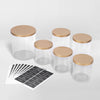
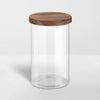
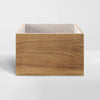
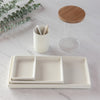
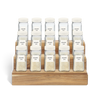
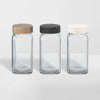
Place decanted items and any oils and condiments across one shelf. Stagger acacia lid Glass Jars holding your most frequently used baking staples, pastas, grains or cereals to maximize space. Corral bottled items like oils, spreads, and sauces on one or more Acacia Turntables or a single Acacia Riser, if space allows.
Label Last
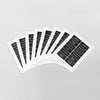
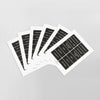
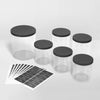
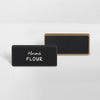
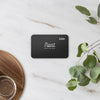
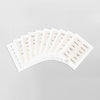
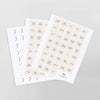
Now that you have all your baskets and jars in a row, it's time to label. Labeling makes it easy for everyone in your home to locate what they need and it's fool proof when questioning where something belongs. Our Brass Label Holder Sets will magnetize directly to both the Grid and Perforated Baskets. Use a Black Pantry Label set for simple categorization, by placing them directly on the Label Holders and Glass Jars.
xx,
the NEAT team


